The Science of Browning (And Why Your Steaks Are Gray)
This post contains affiliate links. If you purchase through them, I may earn a small commission at no extra cost to you.
I ruined steaks for the first thirty years of my life.
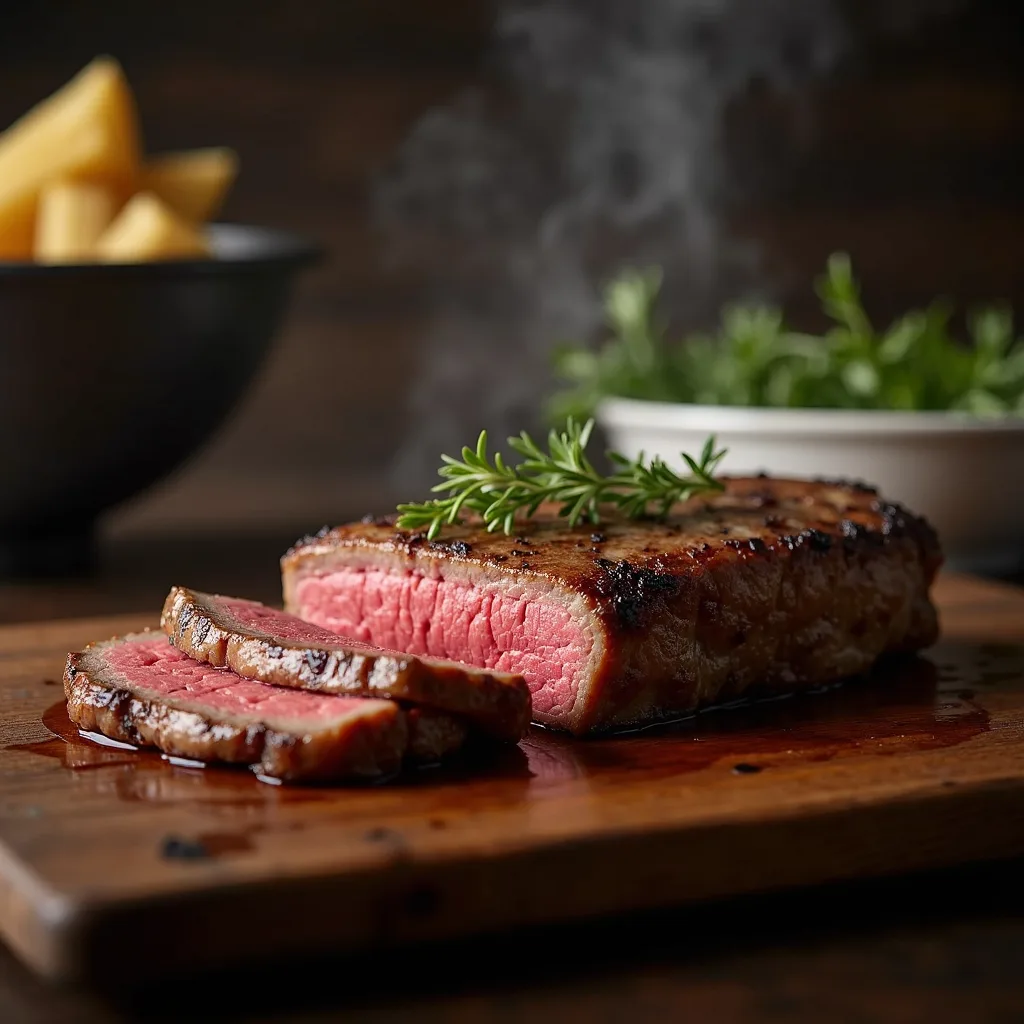
Not burned. Not raw. Just... gray. Uniformly cooked, uniformly bland, uniformly disappointing. I'd watch chefs on TV produce these mahogany-crusted, sizzling pieces of meat and wonder what I was doing wrong.
Turns out, I was doing one thing wrong. And it's the same mistake almost every home cook makes.
I was cooking with moisture when I should have been cooking with heat.
The Maillard Reaction: Why Food Tastes Like Food
In 1912, a French chemist named Louis-Camille Maillard published a paper describing what happens when amino acids and reducing sugars are heated together. He was studying kidney physiology, not cooking. But he accidentally explained why food tastes good.
The Maillard reaction is a cascade of chemical transformations that occurs between 280°F and 330°F (140°C to 165°C). Amino acids from proteins react with sugars, producing hundreds of new compounds—melanoidins (the brown color), pyrazines (nutty, roasted flavors), furanones (caramel notes), and dozens more.
This is not caramelization. Caramelization is pure sugar breaking down under heat. The Maillard reaction requires both protein and sugar. That's why meat browns differently than sugar syrup.
Every time you sear a steak, toast bread, roast coffee, or bake cookies, you're triggering the Maillard reaction. It's the single most important flavor-generating process in cooking.
And it only works under one condition: the surface must be dry.
The Moisture Problem
Water boils at 212°F (100°C). The Maillard reaction starts at 280°F.
See the problem?
If there's moisture on the surface of your food, that moisture has to evaporate before the temperature can climb above 212°F. Until every drop of surface water is gone, you're not browning. You're steaming.
That's why your steak is gray. You pulled it from the fridge, maybe from its packaging with juice pooled around it, and dropped it straight into the pan. The surface was wet. The pan temperature crashed. And for the first several minutes, your steak sat in a pool of its own steam, slowly overcooking internally while the outside remained stubbornly, depressingly pale.
By the time the moisture finally evaporated and browning started, the interior was already medium-well.
Gray outside. Overcooked inside. The worst of both worlds.
The Fix: Three Principles
Principle 1: Dry the Surface
This is non-negotiable. Before anything touches a hot pan, it must be dry.
For steak: Pull it from the fridge. Unwrap it. Pat it aggressively with paper towels—both sides, the edges, everywhere. Press hard. You want to remove every visible drop of moisture.
For chicken skin: Same thing. Wet skin doesn't crisp. It steams, turns rubbery, and stays pale. Pat it dry, then let it sit uncovered in the fridge for a few hours (or overnight). The cold, dry air in your refrigerator will wick moisture from the skin surface.
For vegetables: Wash them, then dry them thoroughly. Wet broccoli in a hot oven doesn't roast—it steams. Lay them on a towel, pat them down, toss them in oil.
The extra 30 seconds of drying makes the difference between "meh" and "how did you make this?"
Principle 2: Salt Early (But Strategically)
Here's where it gets interesting.
Salt draws moisture out of meat through osmosis. If you salt a steak and immediately cook it, you've just created surface moisture. That's worse than not salting at all.
But if you salt it and wait—at least 40 minutes—something different happens.
First, the salt draws moisture out. You'll see droplets form on the surface within 5 minutes. Then, over the next 30-40 minutes, that brine gets reabsorbed into the meat, carrying the salt deeper. The surface dries out. The interior is seasoned throughout.
You end up with a steak that's dry on the outside (perfect for browning) and seasoned on the inside (perfect for flavor).
The worst approach: salt immediately before cooking. The best approaches: salt 40+ minutes before, or salt overnight uncovered in the fridge.
That overnight method—called dry brining—is probably the single highest-impact technique you can learn. It works on steaks, chicken, pork chops, turkey, even fish. Salt it, put it on a rack in the fridge, come back tomorrow. The surface will be visibly dry. The interior will be perfectly seasoned.
Principle 3: Get the Pan Screaming Hot
You need your cooking surface well above 300°F before food touches it.
For a cast iron skillet: Put it on the burner. Turn the heat to high. Wait 5 minutes. Hold your hand 6 inches above the surface—if you can't keep it there for more than a second, you're ready.
For stainless steel: Same approach, but watch for the water test. Flick a drop of water on the pan. If it evaporates immediately, it's not hot enough. If it balls up and dances across the surface (the Leidenfrost effect), you're there.
Add oil after the pan is hot. High-smoke-point oils: avocado oil (520°F smoke point), refined safflower (510°F), or ghee (485°F). Regular olive oil will smoke and burn at searing temperatures. Save it for finishing.
When the steak hits the pan, you should hear an aggressive sizzle—almost violent. If it's a gentle hiss, the pan isn't hot enough. Pull the steak out, wait another minute, try again.
That initial contact is everything. In the first 30 seconds, the surface temperature determines whether you get a deep brown crust or a gray mess.
Don't Touch It
This is the hardest part for most cooks. Once food hits the hot surface, leave it alone.
Every time you flip, move, or fidget with a piece of meat, you reset the browning process. The surface needs sustained contact with heat to trigger the Maillard reaction. Moving it breaks contact. Flipping it exposes the browned side to air, cooling it, while the new side has to start from zero.
For a steak: put it down, then don't touch it for 3-4 minutes. You'll know it's ready to flip when it releases naturally from the pan. If you try to lift it and it sticks, it's not done browning yet. Let it go.
For chicken thighs: skin side down, 7-8 minutes without moving. The skin will go from pale to golden to deep brown. Don't peek. Don't press. Just wait.
For mushrooms: single layer, don't stir for 3-4 minutes per side. Mushrooms are 90% water. If you stir them constantly, they release moisture faster than it can evaporate, and you end up stewing them in their own juice. Let them sit. Let the water cook off. Let the browning happen.
Patience is a cooking technique.
Crowding Kills Browning
Every piece of food in a hot pan releases moisture. If there's too much food, the moisture builds up faster than it can evaporate. The pan temperature drops. You're steaming.
This is why restaurant cooks use huge pans and work in small batches. Surface area matters.
For roasted vegetables: spread them in a single layer with space between each piece. If they're touching, they're steaming each other. Use two sheet pans if you need to. The extra dish to wash is worth it.
For sautéed meat: if you're cooking a pound of ground beef, don't dump it all in at once. Brown it in two batches. Each batch gets hotter, drier, and browner. Then combine them.
I know it's faster to throw everything in one pan. It's also why the food comes out gray and watery. Speed versus quality—pick one.
Beyond Steak: Where Browning Changes Everything
Bread
A pale loaf of bread isn't just ugly—it's missing flavor. The crust is where the Maillard reaction concentrates. That's why the crust tastes different than the crumb.
If your bread is pale, your oven isn't hot enough, or you're not baking long enough. Most home bakers under-bake by 5-10 minutes because they're afraid of burning. Push past the fear. Take it to deep golden brown. The flavor will repay you.
Professional bakers say: "When you think it's done, give it five more minutes."
Onions
Properly caramelized onions take 45 minutes. Not 10. Not 15. Forty-five minutes of slow, patient cooking over medium-low heat.
What most people call "caramelized onions" are actually just softened onions with some color. Real caramelization—where the sugars break down and the Maillard reaction kicks in—requires time.
The process: thin-sliced onions, a bit of oil, medium-low heat. Stir occasionally. After 20 minutes they'll be soft and translucent. After 30, they'll start turning golden. After 45, they'll be deep amber, sweet, and intensely savory.
You can't rush it. High heat burns the sugars before they caramelize. Low-and-slow is the only way.
Tomato Paste
Here's a trick most home cooks skip: when a recipe says "add tomato paste," don't just stir it in. Cook it first.
Push the other ingredients to the side of the pan. Add the tomato paste to the bare surface. Let it sizzle and darken for 60-90 seconds, stirring constantly. It should go from bright red to brick red, almost rust-colored.
That's the Maillard reaction on tomato paste. It deepens the flavor enormously—taking it from sharp and acidic to rich and complex. Every stew, sauce, and braise benefits from this 90-second step.
Common Mistakes Summarized
- Wet surface → Steam instead of sear. Fix: pat dry.
- Cold pan → Temperature drops on contact. Fix: preheat 5+ minutes.
- Crowded pan → Moisture builds up. Fix: cook in batches.
- Too much flipping → Breaks crust formation. Fix: leave it alone.
- Wrong oil → Smoke and off-flavors. Fix: high-smoke-point oils for searing.
- Salting too late → Surface moisture at cook time. Fix: salt 40+ minutes early or overnight.
- Fear of color → Pulling food off heat too early. Fix: darker than you think is usually right.
Why This Matters
Cooking is chemistry you can eat. And the Maillard reaction is the most important reaction in your kitchen.
Understanding why food browns—not just how—changes the way you approach every meal. You stop following recipes blindly and start making decisions based on what's actually happening in the pan.
You see steam rising and know the temperature is wrong. You see gray meat and know the surface was wet. You see pale vegetables and know the pan was crowded.
Once you understand the science, the fixes are obvious. And your food gets dramatically better overnight.
Not because you learned a new recipe. Because you learned a principle.
Dry surfaces. High heat. Don't crowd. Don't fidget.
That's it. That's the whole secret to browning.
Want to cook with intention? My book Flavors of the Motherland explores the techniques, science, and cultural roots behind cooking that actually works—from ancient methods to modern kitchens.
Related Reading
If this resonated, you might also find value in:
- Why Food Connects Us More Than Anything Else – The deeper meaning behind shared meals
- Cooking as Cultural Connection – How food carries history across generations
- Food Science Books on Amazon – Deep dives into the chemistry of cooking
- Maillard Reaction Resources on Amazon – Understanding the science behind flavor